Saturday, December 13, 2014

Scalloped Potatoes


Potatoes are so dang versatile.  You can cook up so many different dishes with them.  Baked Potatoes, Mashed Potatoes, French Fries, Tater Tots—the list goes on and on.  Here at An Eat’n Man, we like our taters pretty much any way we can find ‘em, from the aforementioned more ubiquitous ways to some of the fancier forms that potatoes can be lifted up to.  With that in mind, we’re going to start a series of some of the more ‘gussied up’ variety of potato dishes, starting with this one, Scalloped Potatoes. 

This dish is actually about half way between scalloped potatoes and potatoes ‘au gratin.’  What’s the difference, you ask?  Well, scalloped potatoes are potatoes cooked in a milk based sauce, and au gratin potatoes are potatoes sprinkled with cheese and breadcrumbs and baked.  In the former, the milk is what does the ‘scalloping,’ and in the later, a broiled cheese and breadcrumb topping is what makes something ‘au gratin’ or ‘gratinĂ©ed.’  If you do both, then you should call them ‘scalloped potatoes au gratin.’  In this version, I’ve done the scalloping, but I left out the bread crumbs, so it’s not a true ‘au gratin.’  Okay, enough definitions, let’s get to cooking!

Scalloped Potatoes

3-4 Large Potatoes, Thinly-Sliced
3 Tablespoons Butter
3 Tablespoons Flour
2 Cups Milk
1 Teaspoon Salt
1 Teaspoon White Pepper
2 Cups Grated Sharp White Cheddar Cheese
Dash Paprika

Peel your potatoes and slice them thinly.  This is best done with a mandoline, which can make paper-thin slices quickly and easily.


Just be sure to use the cutting guide and perhaps a knife glove like this one here as well.  Never cut bare-handed like you see ‘em doing on the cooking shows.  Trust me, I can tell you from experience that these babies are very sharp.

When you’ve finished with your taters, melt the butter in a skillet,
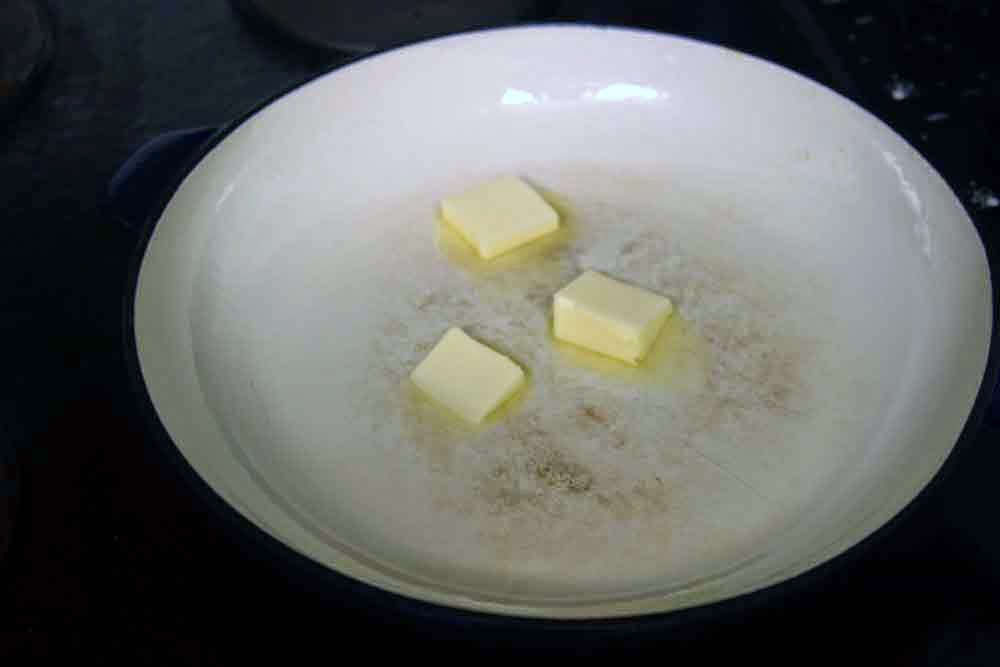


then sift in the flour, let cook a minute or three, then stir.


Next, slowly stir in your milk and whisk to combine.


Season with the salt and pepper, then cook on medium heat until just boiling.  Turn off heat. 

Layer some of your potato slices into an oven-proof dish.


Sprinkle some of the cheese over them,


and then ladle some of your milk sauce over that.


Repeat with another layer of potatoes, cheese and sauce.  Keep doing this until you fill up the dish, probably six or seven layers.


On the last layer of potatoes, just add cheese on top—no sauce—as this is what is going to form a nice, melty, golden-brown layer on top. 


Sprinkle on a little paprika if you like, then bake the potatoes uncovered for about an hour at 350˚F, until they are cooked through and golden brown on top.


Let potatoes rest for ten minutes or so out of the oven, then serve.


Until next time,


Chris


.


Tuesday, December 9, 2014

Piri Piri Chicken


During a visit to Portugal over a decade ago, I had the chance to sample one of the most delightfully hot and spicy dishes I’d yet had, Piri Piri Chicken. 

We were on a day trip out of Lisbon, in the picturesque little coastal town of Sintra, 


where we had just toured a palace, and lunch time was approaching.  We drove down to the harbor area and found this non-descript little place that friends told us was famous for their chicken.  We ordered a couple and a few beers to wash said chicken down, and waited for the chicken to arrive.


While we were waiting, I snapped a pic of the cooks preparing the chickens on skewers over a wood fire.  


I don’t have to tell you the place smelled wonderful!

When the chicken arrived it was wonderful as well.  It was an entire half chicken, marinated in the spicy piri piri sauce and grilled to perfection.  But, man was it spicy—we’re talking fire-in-the-hole hot!  But it was a tasty heat. 

I’d always remembered this meal fondly, but never got around to trying to make it until about a year ago.  I think the main reason was the lack of authentic ingredients available.  I found some sauces claiming to be piri-piri (or peri-peri) online, but when I tried them, I was disappointed—didn’t taste anything like the stuff in Portugal.  So, I decided to make my own.  The recipe that follows was tweaked over time, and it is close to what I had in Portugal, but not exact.  It is by no means authentic, as I freely bastardized various recipes I found until I got the taste I wanted, and also I lacked the main authentic ingredient—the piri piri, or bird’s eye chile pepper from Africa.  I subbed some Fresno Reds instead, and it worked out fine. 

There do seem to be literally hundreds of premade piri piri sauces available, so I may keep trying them until I find one I like.  If I do, I’ll update this recipe.  I’d like to have that authentic bird’s eye pepper in the recipe in some form, so hopefully I’ll find a good one.  In the mean time, this version is not too shabby:


Piri Piri Chicken

For the Marinade

1 Jar Roasted Red Peppers
1/2 Red Onion, Peeled and Quartered
3 Cloves Garlic
4-5 Fresno Red Peppers or Similar
1-2 Habanero Peppers
2 Tablespoons Louisiana-Style Hot Sauce
1 Tablespoon Smoked Paprika
1 Teaspoon Worcestershire Sauce
Juice of One Lemon
1/4 to 1/3 Cup Olive Oil

2-4 Bone-in Skin-on Chicken Breasts, or pieces of your choice.


For the Glaze

3 Tablespoons Butter
2 Tablespoons Fresh Cilantro, Chopped Fine
1 Garlic Clove, Minced
1/2 Cup of Unused Reserved Piri Piri Marinade
1 Tablespoon Fresh Lemon Juice


As I said earlier, this is a pretty bastardized version of what an authentic recipe might be—I’m just trying to get to the same flavor I tasted in Portugal, and taking another road to do so.

Anyhoo, open your jar of roasted red peppers and coarsely chop them.  


Toss ‘em into your food processor.  Quarter your half red onion; 


toss this in as well.  Coarsely chop your Fresno Reds and Habaneros 


and toss these in, along with the hot sauce, smoked paprika, Worcestershire sauce and the juice of the lemon.  


Process for a few seconds to get everything chopped up nice, then begin to add your olive oil.  Process until a chunky yet very liquid-y mixture forms. 


This should make about a little over two cups of marinade.  


Can be made up to a day ahead or more.  Will keep for several days.  

For the chicken, I'm using just two bone in skin on breasts 


since it's just the wife and I dining tonight, but the above marinade recipe makes enough for 8-10 chicken pieces, or two (or more) chicken halves.  Place your chicken in a large Ziploc bag and add a cup of the marinade.  Shake well to make sure the chicken is well-coated.  


Let the pieces marinate in the fridge for 4-6 hours.

You can use the roasted red pepper jar to store unused marinade, some of which you'll use later to make the glaze.  


When you’re ready to cook, fire up your charcoal grill for indirect cooking.  Add a piece of smoking wood to the coals for some authentic flavor and aroma.  Allow the grill to settle in at 325˚F, place the chicken on the opposite side from the charcoal...


grill for 30-45 minutes, placing the until the chicken is ruby-red in color and cooked through. 


.


While the chicken is cooking, make your glaze.  Melt butter in a small saucier or sauce pan.  Add the other glaze ingredients and heat through. 


When the chicken is done, bring it in off the grill and immediately brush with the glaze.  


Allow to sit for a few minutes for the glaze to set up.  Then serve. 

Here we served it simply with some sun dried tomato cous-cous.  


You can also serve a little of the glaze on the side as a dipping sauce. 

Until Next Time,


The Heat is on!


Chris


Sunday, December 7, 2014

Ham and Cheese Tart


For December here at An Eat’n Man, I’m going to post several recipes whose photos have been sitting on the hard drive for a while—a sort of clearinghouse month this will be.  As I review the blog and my cooking record, I see I’ve got 92 posts on the blog, but over 150 dishes cooked and photographed and sitting on my computer.  I guess I’ve been more of a chef than a blogger, but oh well. 

So, coming up next month I’ll be announcing a big change to the blog.  No, I’m not turning vegan or anything like that.  I’ve just been working on some changes that will improve the appearance of the blog.  More on that in January. 

Anyhoo, this change will mean much of the photography that’s sitting around on the hard drive won’t be usable.  Not a big deal.  Some were fails anyway, and some I will redo to suit the changes to the blog.  But a few I hated to waste, so I’ve selected some of those and will be posting them throughout this month. 

First up is this awesome Ham and Cheese Tart.  I saw one of my fave chefs Bobby Flay make this on the Food Network a while back, so I had to try it.  I changed it a little bit, mainly because he used apricots in his, and I wanted mine to be strictly savory.  Here goes:

Ham and Cheese Tart

2 Sheets Puff Pastry, Thawed. 
3 to 4 Tablespoons coarse Grained Mustard
1/2 to 1 Pound Thinly Sliced Smoked Ham
8 Ounces Shredded White Cheddar
Handful Spinach Leaves
1 Egg
Cracked Black Pepper


Preheat oven to 400˚F

We’ll be using store-bought puff pastry for this.  


The box comes with two sheets, which is perfect for this recipe. 


Thaw the puff pastry according to the directions on the box, then lay it out on a well-floured surface and unfold one sheet.  


Roll it out till it has increased in size by about an inch on all sides.  Transfer it to a parchment paper lined baking sheet pan.   


Next, the mustard.  


I prefer this Maille brand Old Style Whole Grain Dijon, but use whatever you like.  Spread the mustard all over the puff pastry, 


leaving about an inch incovered all around the pastry. 


The ham:  


I prefer to use a nice, full-flavored smoked ham in the dish, but there are lots of other options as well.  Use whichever you like.  Just make sure it is sliced thin. 

Layer it on the puff pastry, again leaving an inch of the puff pastry uncovered all around. 


Crack a little black pepper on the ham.  No salt though, hams are cured and have plenty of salt already in them. 

Sprinkle your shredded white cheddar onto the ham. 


Spread some spinach leaves over the cheese. 


Now, roll out the other sheet of puff pastry to the same size as the first.  Carefully transfer it to the sheet pan, laying it over the first puff pastry exactly. 


Seal up the edges by pressing all around with a fork.  This will give it a lovely decorative edge as well. 


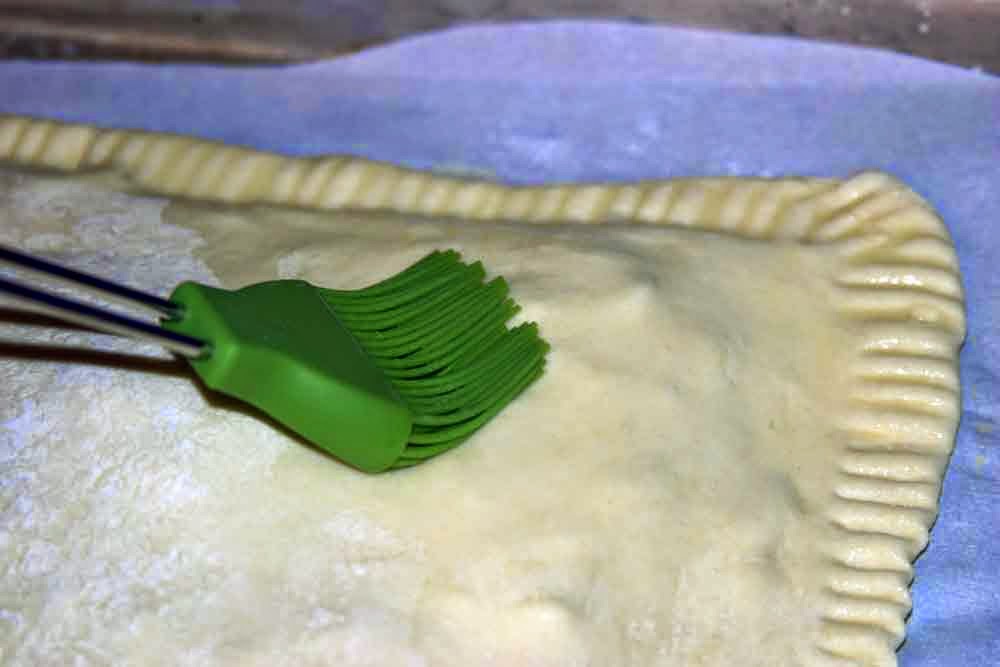
Beat the egg with a few drops of water and brush it into the tart.  


Using a lame or sharp knife, cut a few slits in the top of the tart to let steam escape. 


The Tart, ready to go into the oven.


Pop it in the oven and bake for 30 minutes or so, until the tart is puffed up and golden brown. 


Slice into six or eight slices and serve immediately. 


Enjoy!

Until Next Time,

Ham it up!

Chris